How To Replace Your Garbage Disposal Splash Guard

The garbage disposal splash guard is the rubber gasket that surrounds the opening of the garbage disposal drain. This flappy piece of rubber can be used for years without any issues if it is regularly cleaned.
If the guard exhibits cracks or becomes brittle, it’s time to replace it. Replacing your garbage disposal splash guard is the perfect DIY job for any homeowner, since it will only cost you about $10 and fifteen minutes of your time.
Garbage Disposal Rubber Splash Guard Replacement
To begin replacing your garbage disposal splash guard, you need a bucket, a screwdriver, and a replacement splash guard. You can pick up a fresh splash guard at your local hardware store for less than $10. Check what type of screws secure the drain pipe and dishwasher line to determine whether you need a Phillips head or flat head screwdriver. This is a good time to clean out the cabinet under your sink so that you have ample room to work.
Next, find the power source for your garbage disposal. Frequently, the garbage disposal is connected by a cord to an outlet under your sink. Unplugging the cord will make it safe for you to work around the disposal. In some homes, the garbage disposal is hardwired directly to a power supply. If this is the case, go to your circuit breaker and disengage the switch that powers your disposal. After disconnecting the disposal from its power source, test your disposal by turning it on. If nothing happens, you are ready to begin replacing your garbage disposal splash guard.
Tip: If a friend or family member is available, request assistance to help reattach the disposal when you are done. While this job can be done alone, it is much easier to stabilize and attach the garbage disposal with a partner.
Steps to Remove Garbage Disposal Splash Guard
- First, turn off the power source for your garbage disposal. Frequently, the garbage disposal is connected by a cord to an outlet under your sink. Unplugging the cord will make it safe for you to work around the disposal.
- Next, disconnect the drain pipe. This is usually a metal or plastic pipe that connects the disposal to the wastewater line. Drain pipes are typically connected using two or more screws. If you see an additional line that connects the dishwasher to the disposal, disconnect that as well. It is important to note that there will likely be water in the lines, so position your bucket underneath appropriately to catch any falling water.
- Next, you’ll have to loosen the ring that connects the disposal into its mount. Loosen the locking ring by sliding the screwdriver into one of the tubes around the edge of the ring and turning counter-clockwise. This takes some effort at first, so just twist until it feels like you can untwist it with your hand. At this point, use your other hand to support the bottom of the disposal. When the ring is completely loosened, the disposal will fall straight down. Carefully place the disposal on the bottom of the cabinet.
- Detach the disposal and lower the unit from the mounting.
- Replace your Splash Guard. The new guard will fit tightly on top of the garbage disposal, similar to how a plastic lid fits on a can of peanuts. Simply peel the old splash guard off, clean the top of the disposal thoroughly, and pop the new splash guard into place. Dispose of the old splash guard.
- Reconnect your garbage disposal. This is the most difficult step, so call for assistance at this time if you need help stabilizing the garbage disposal. For this step, hold the garbage disposal securely in place while tightening the locking ring you loosened in step one. If you have a helping hand, have one person support the garbage disposal while the other person tightens the ring. If you are working alone, consider lying on your back underneath your sink. This could make it easier to stabilize and tighten simultaneously.
- Reconnect the dishwasher and drain lines. After all lines are securely connected, reconnect to power. Test your garbage disposal to ensure that everything is in working order.
- Test the garbage disposal to be sure it is working properly.
That’s it! Congratulations on replacing your garbage disposal splash guard. Clean the new splash guard regularly to increase its useful life.
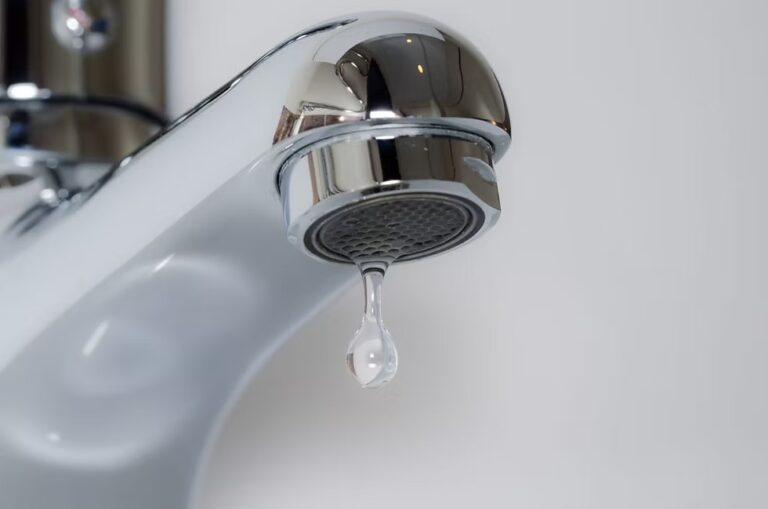
Here at Jolly Plumbing, we are experts in Colorado Springs plumbing services. We specialize in water heater installation, replacement, and repair as well as toilet and faucet repair and much more. We have been in the plumbing and heating business since 1955 and stand by our excellent reputation.
Whether you need a garbage disposal or have a leaking water tank, Jolly Plumbing can handle any job, any size. We service both residential clients as well as commercial water heaters, which means you get the same great customer service whether you are a Colorado Springs homeowner or a local business that requires plumbing services.